Self-hosted: DDNS Setup for Cloudflare
This page will demonstrate how to set up DDNS for Cloudflare using ddclient. The goal by the end is for ddclient to change the DNS entry on Cloudflare whenever the host’s public IP changes.
Setup
The setup is really not that complicated. We only need to install ddclient and request an API token from Cloudflare.
To install ddclient, we can either obtain it from an operating system package, or download and install it manually via its GitHub repo. I recommend installing it manually via GitHub, since that way you get the most up-to-date version. Otherwise, if an older unsupported version is installed, one may run into issues.
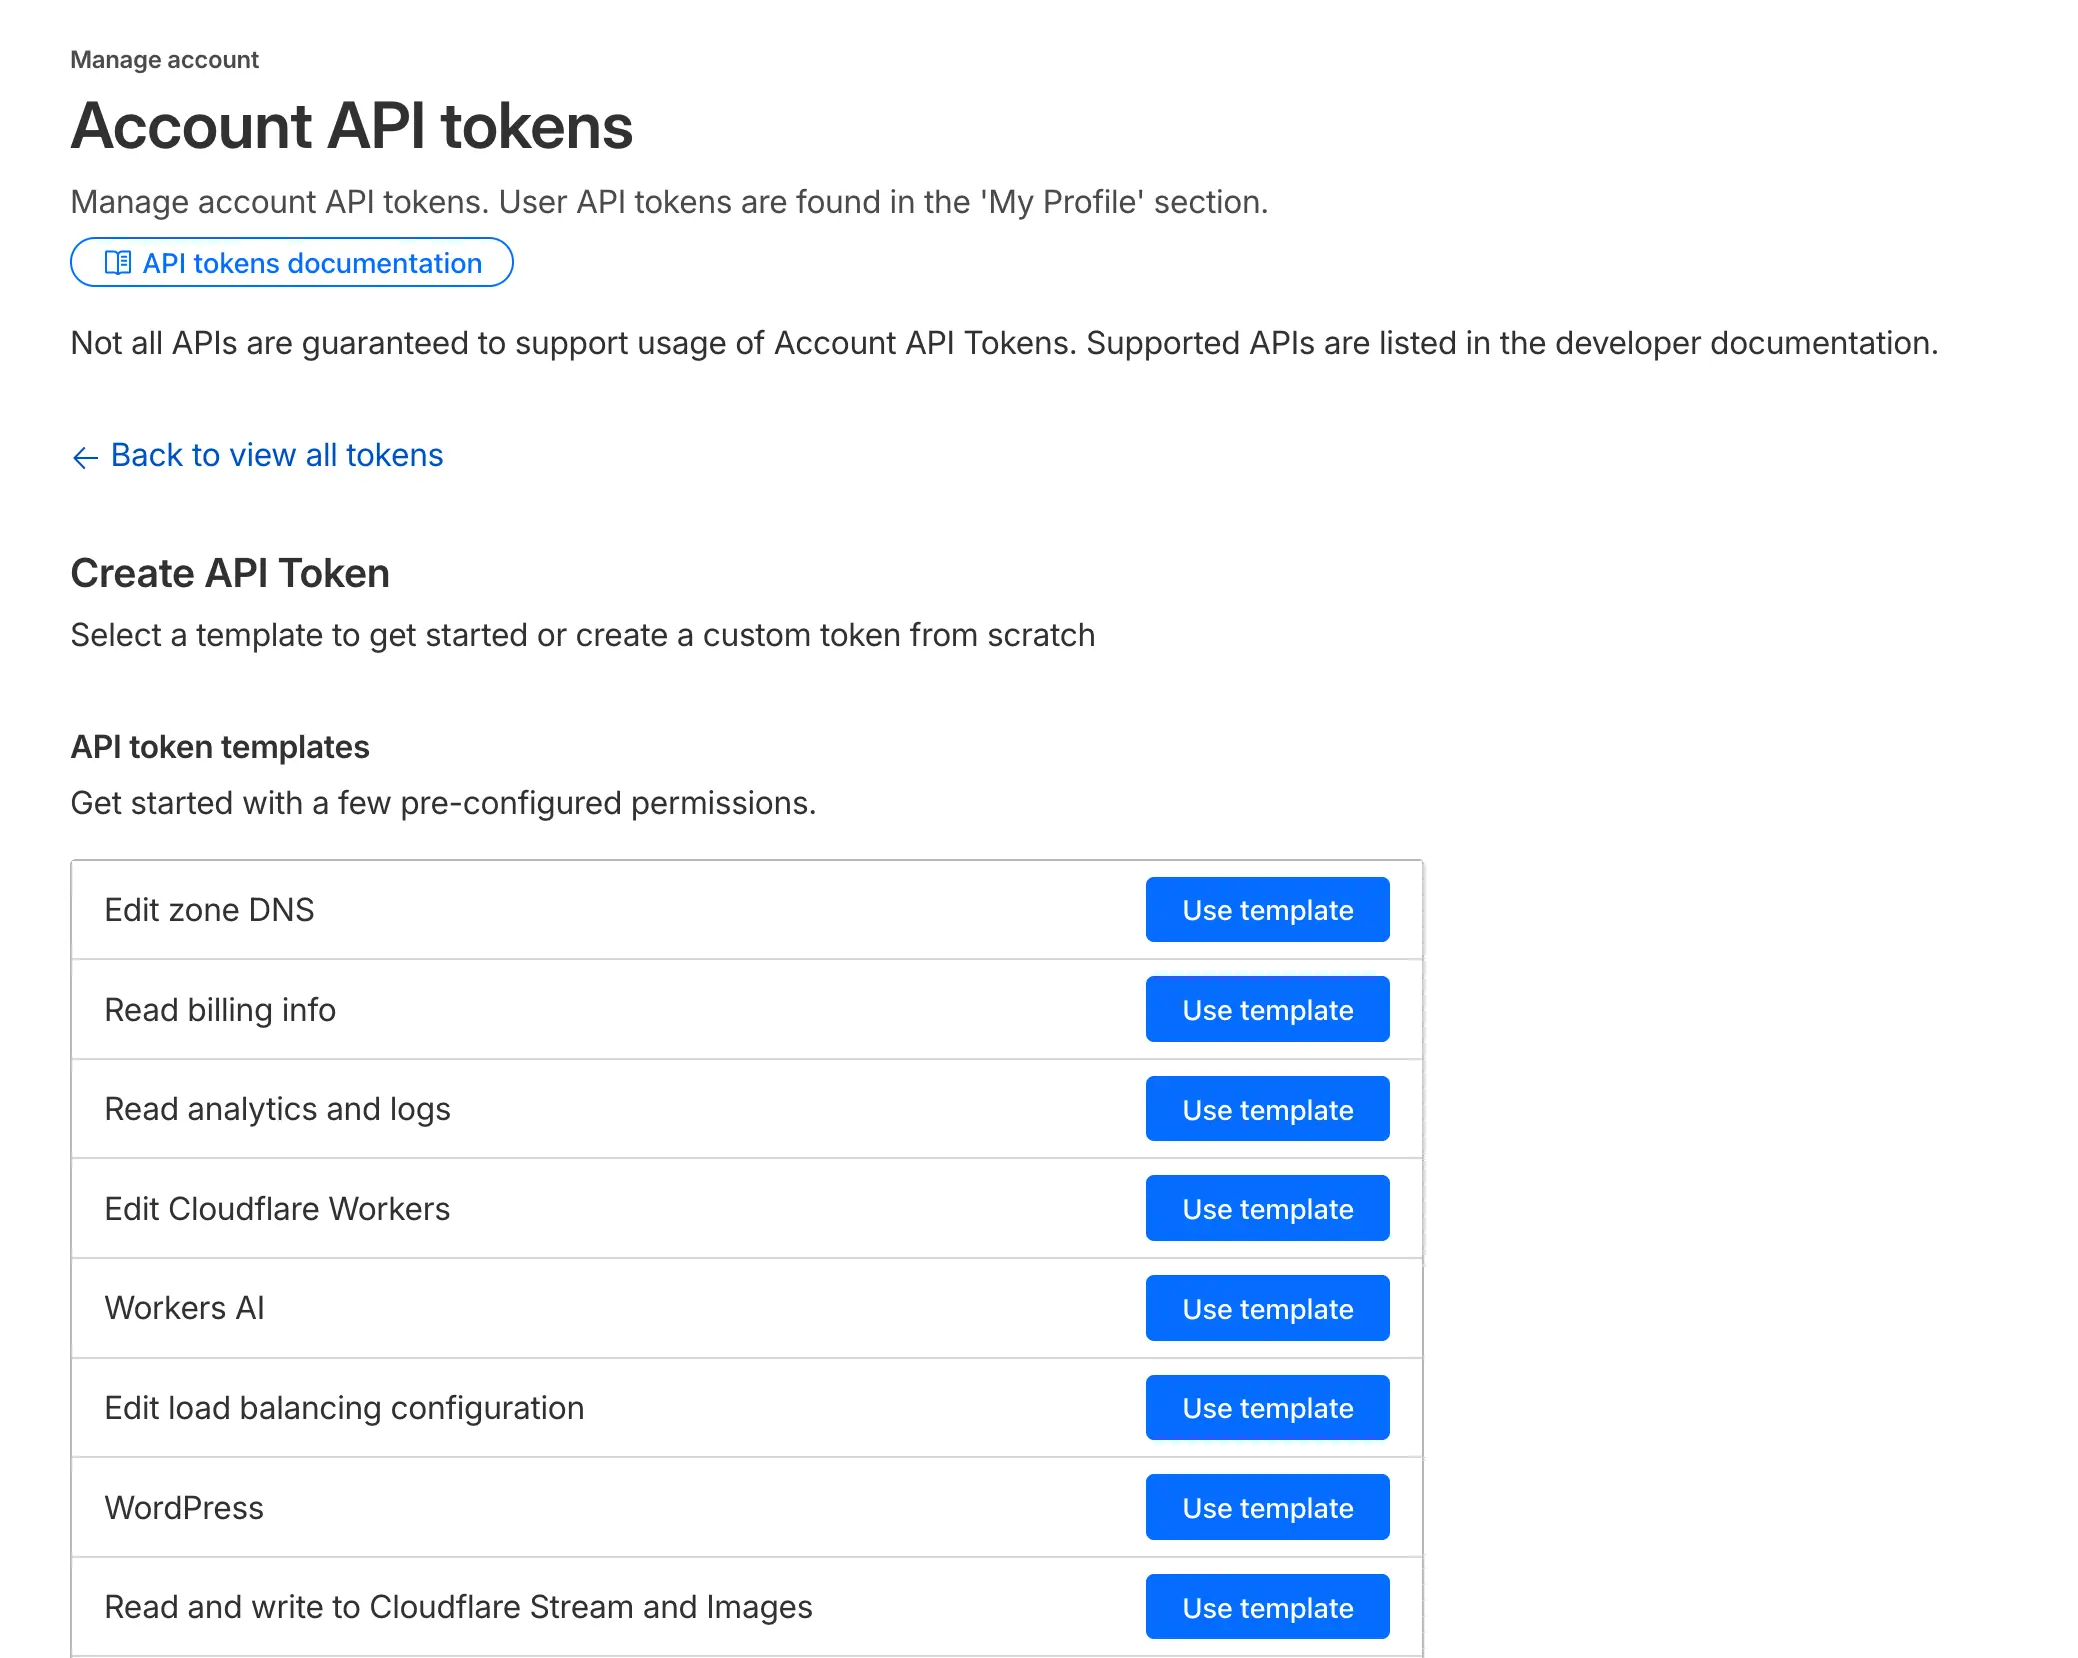
To request an API key from Cloudflare, log into the dashboard and navigate from the sidebar to Manage account > Account API tokens > Create Token. Then, select the pre-configured Edit zone DNS template.
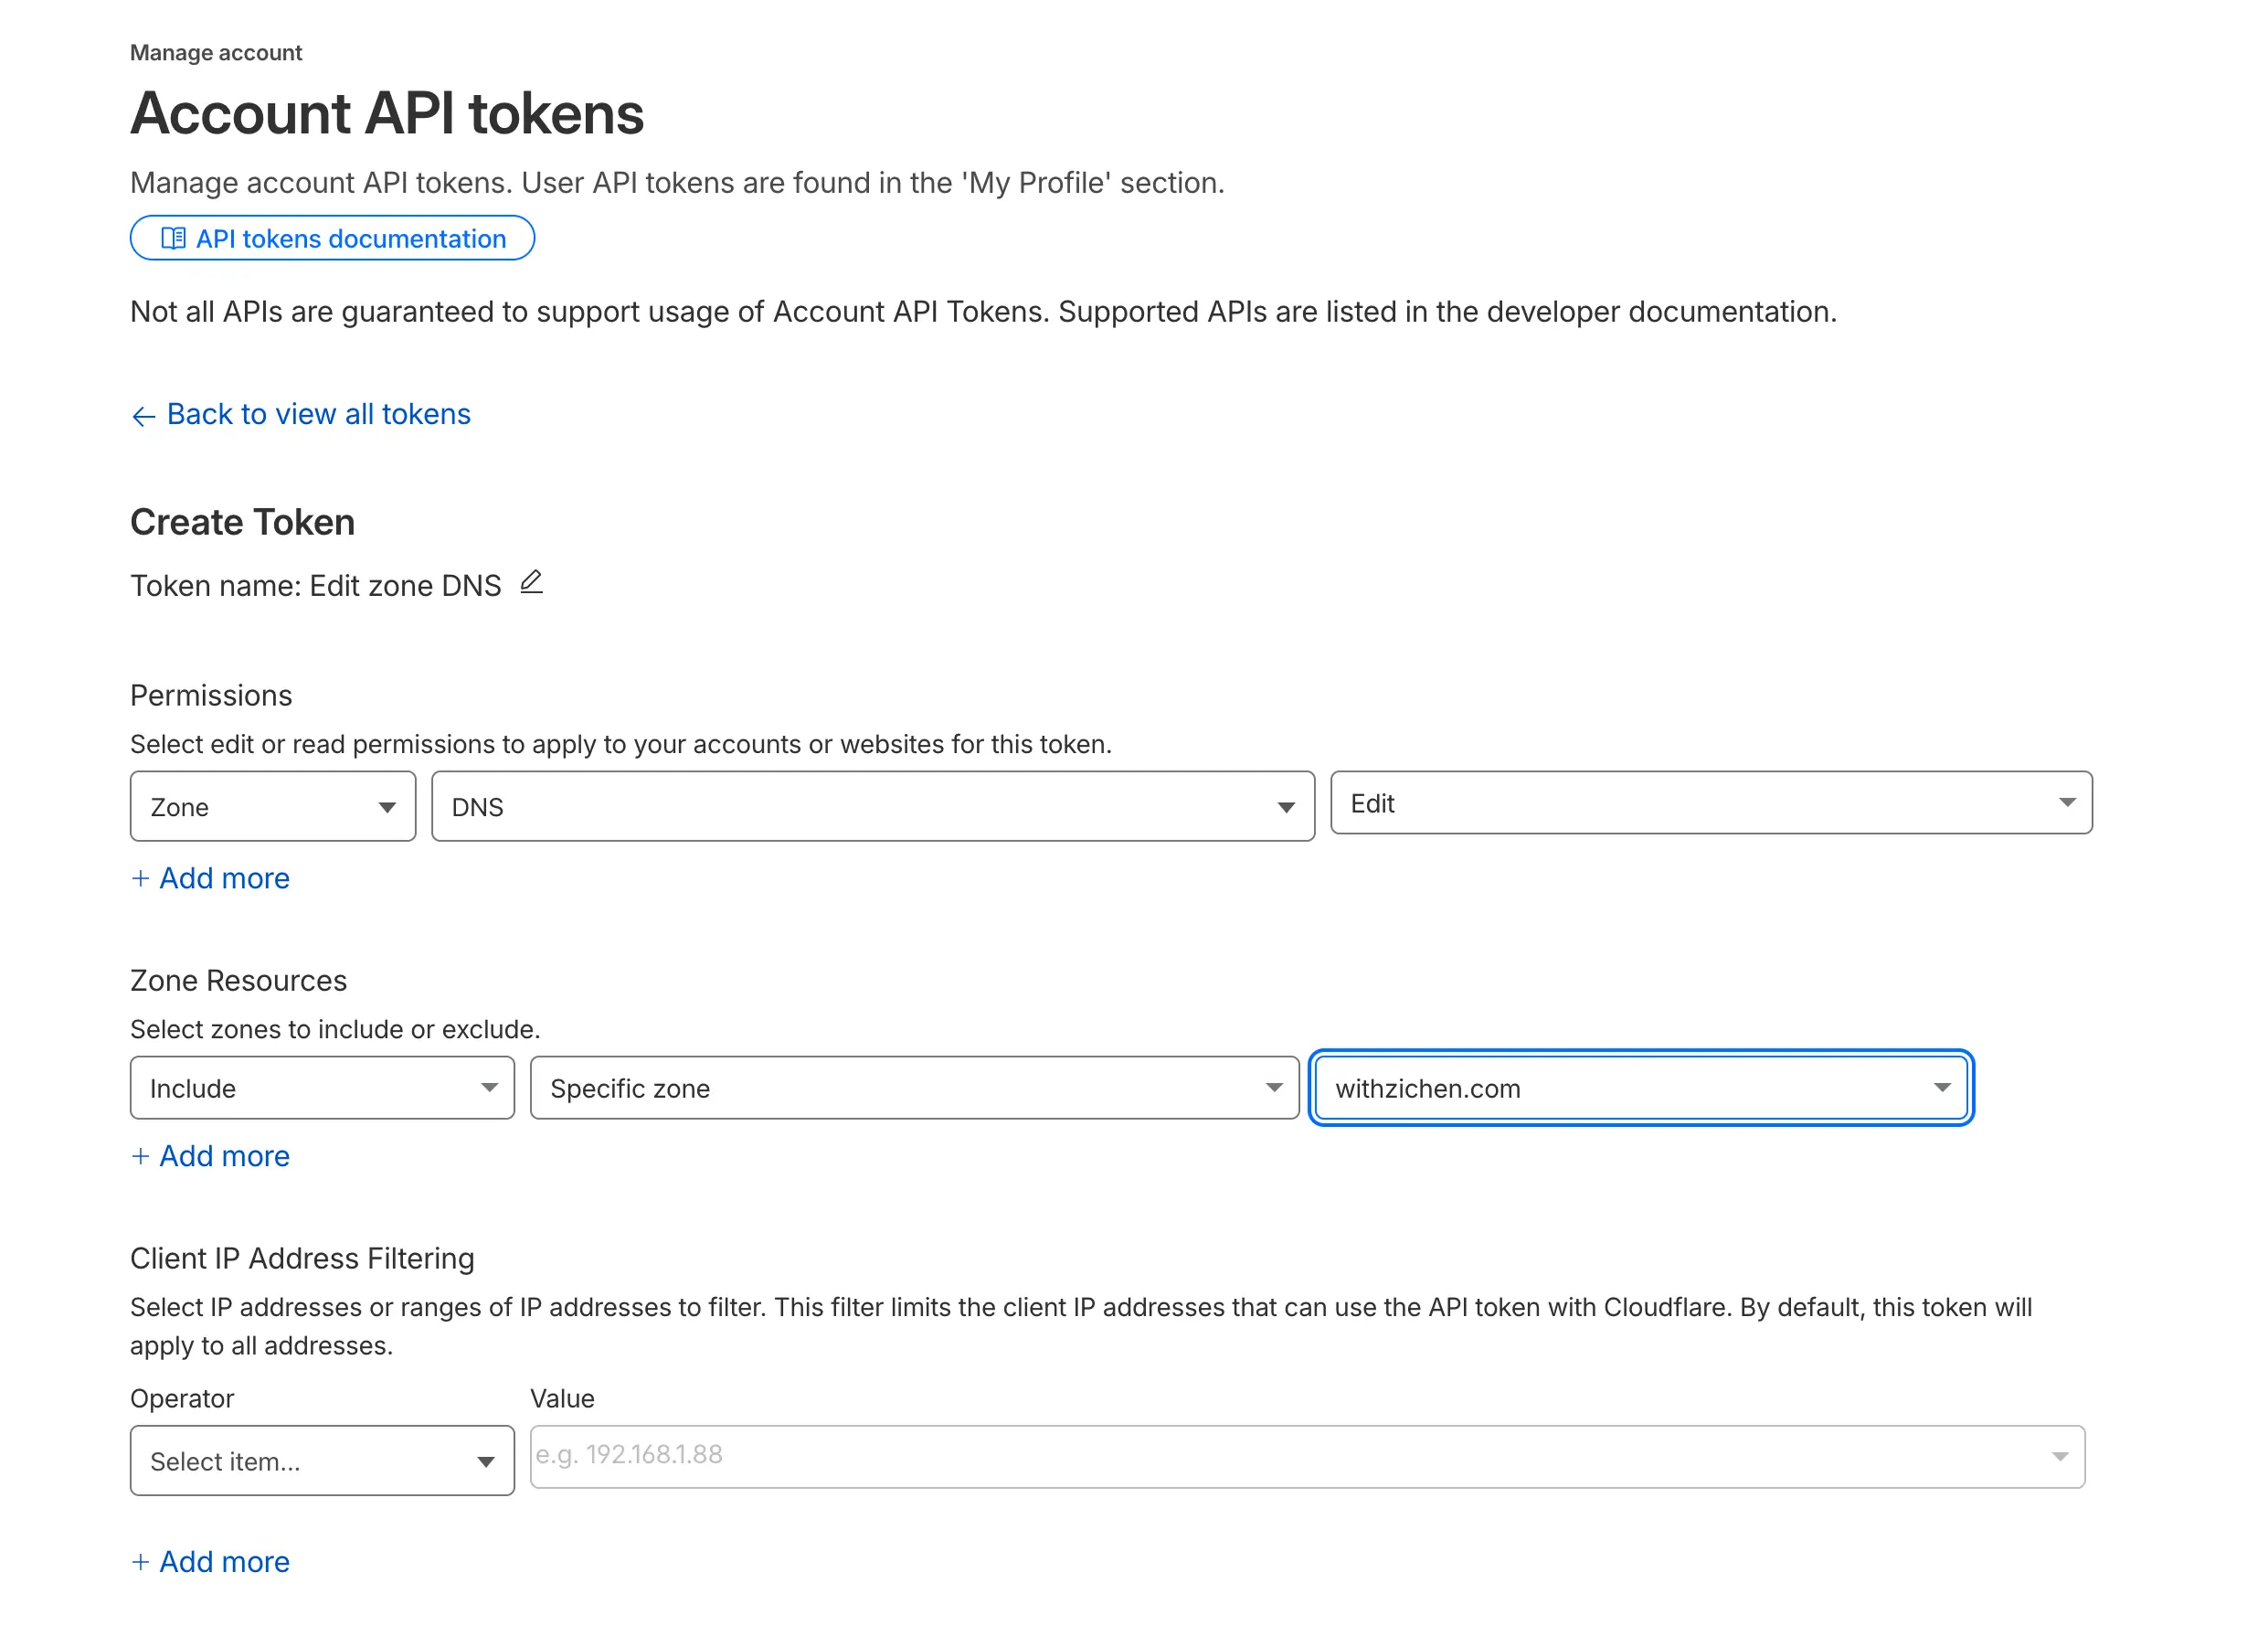
Select the desired domain in the Zone Resources section and leave everything else as-is. Click Continue to summary > Create Token and save the created token for later.
Config
The config file should have extensive comments and should be pretty self-explanatory. Here’s my own configuration file for reference.
$ sudoedit /etc/ddclient/ddclient.conf
ssl=yes
use=web
ttl=1
daemon=5m

protocol=cloudflare
zone=withzichen.com
login=token
password=<token>
withzichen.com
$ sudo systemctl enable ddclient
$ sudo systemctl restart ddclient
Testing
Run the following commands to check if everything is working.
$ sudo ddclient -query              # Queries your external IP
$ sudo ddclient -daemon=0 -verbose  # Test Cloudflare DNS API
During my own setup, an issue I personally ran into was that these commands took a long time to run. The culprit was that my ddclient, which I obtained from my system’s package repository, was woefully out of date. This meant that many of the APIs and services that the outdated ddclient relied on to check the host’s external IP either changed or was shut down. The solution was to install the latest version of ddclient from the GitHub repository.